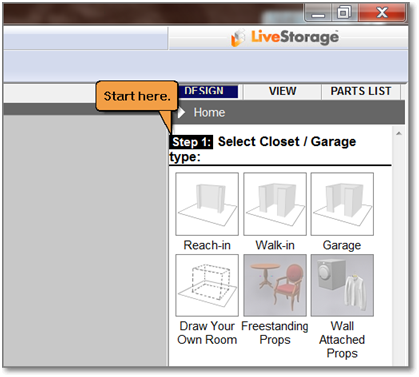
Getting Started: When you launch the program look in the upper right-hand corner for the dialogue bubble that says “Start Here.” Select a closet, garage, or elect to draw a custom room. When selecting a preconfigured reach-in closet, walk-in closet, or garage, use the input boxes to customize the dimensions that fit your needs.
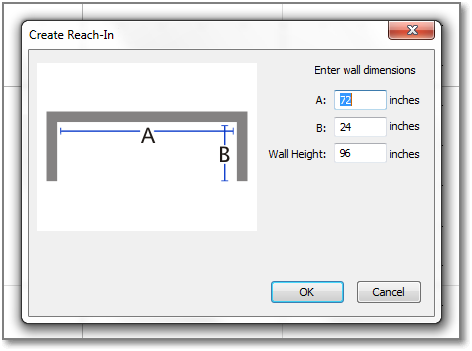
Specifying Dimensions: Clicking any of the three buttons above (Reach-In, Walk-In, or Garage) opens a dialogue box. On the right side of the dialogue box, you have the option to manually enter the dimensions of your choice for the walls, or you can simply accept the default dimensions by clicking “OK.”
Drawing Your Own Room: To draw your own custom room, wall by wall, click on the Draw Your Own Room button. This opens a menu for selecting walls, doors, wall items, generic box, or generic cylinder.
After clicking on walls to get started, you have 2 options:
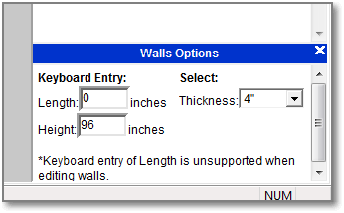
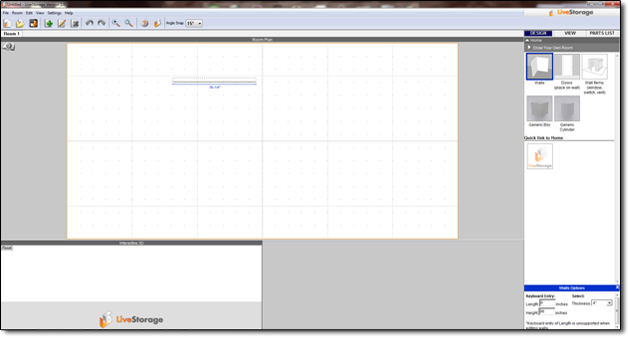
1) In the lower right corner options window, manually enter the desired length, height, and thickness of the first wall, then click on your desired starting point in the work area. Move you cursor in the desired angle or direction you want the wall to go, and a second click places the wall.
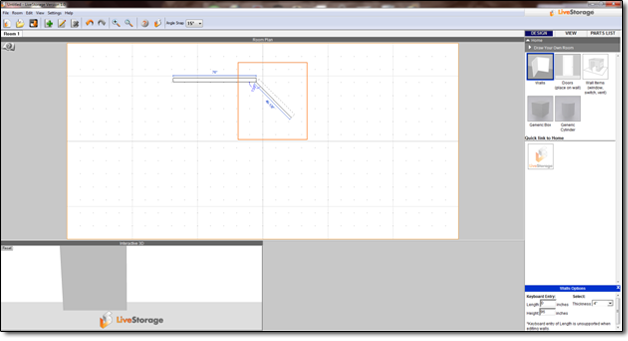
2) Instead of manually entering the length, start by clicking on the desired starting point in your work area. Move your cursor where you want the wall to end (the length will appear next to the wall, and change as you move the cursor), and click again to complete the wall.
Drawing Walls: Sticky Walls: Continue drawing additional walls until you have created the room you want. Walls are “sticky” and will continue from the last completed wall or corner unless you right click, click on the walls button, close the options window, click another icon button, or navigate to another menu.
