Within the View tab menu, you will find an icon labeled Render.
The current view on the screen is the one that will be rendered. Set your preferred viewing angle for the rendering before clicking on the icon.
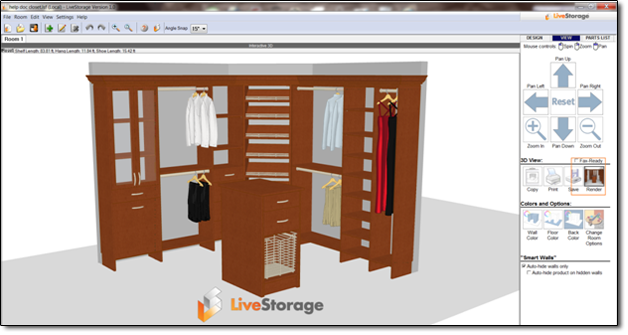
When you have set the desired viewing angle, click the Render icon to launch a dialogue box for setting the quality and resolution of your photo-realistic rendering.

Quality Settings: Please note that the higher quality setting you choose, the longer it will take for the rendering to complete. Also, a greater amount of products or items in your design can increase the rendering time.
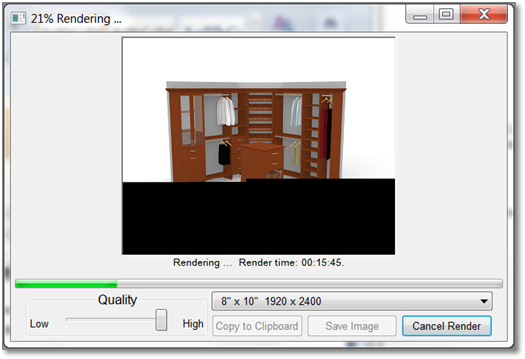
After you have specified the quality settings, simply click Render to begin. While the rendered image is being created, you may continue working or making changes to your design. Once the rendering is completed, you may either Copy to Clipboard, for quick & easy pasting into emails, documents, or presentation materials, or you may Save the image for continued use at a later time.
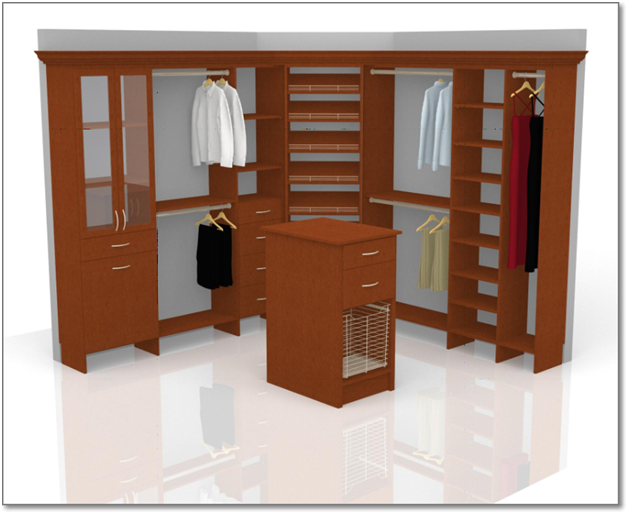
Example of a finished rendering: